Visual field guide / Chimneys
Chimney Brick, Crown & Flashing Guide
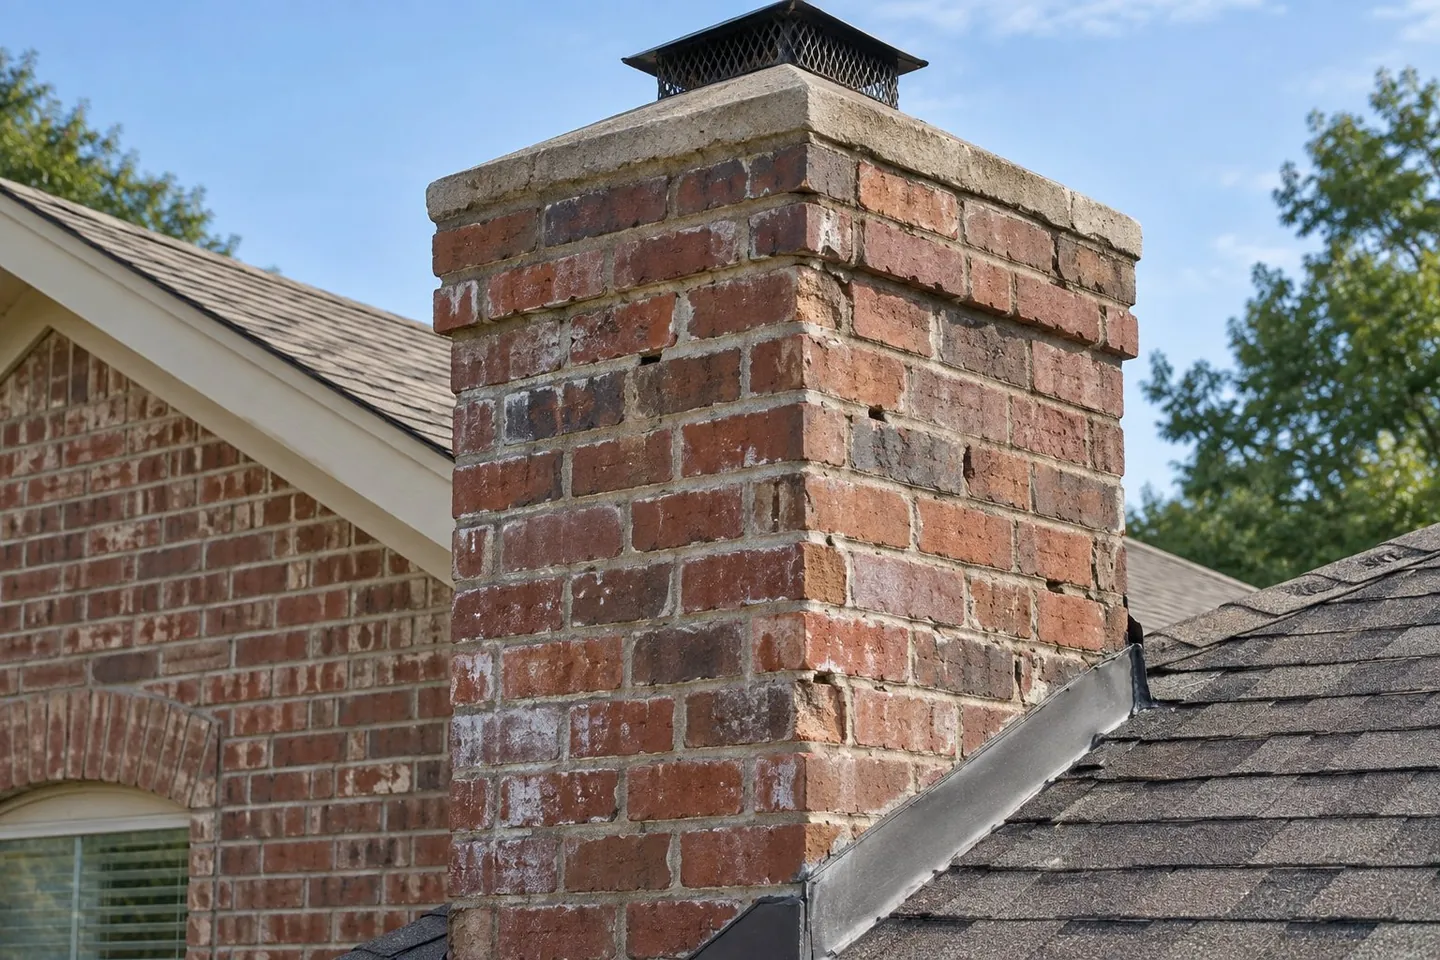
A chimney should be read from crown to roof: cap or crown, top courses, mortar joints, shoulders, flashing and interior fireplace conditions can be parts of one moisture path.
Direct answer
The short answer before the detail.
A chimney should be read from crown to roof: cap or crown, top courses, mortar joints, shoulders, flashing and interior fireplace conditions can be parts of one moisture path.
Start at the highest exposed detail and trace water down through joints and the roof intersection.
The value of Chimney Brick, Crown & Flashing Guide is a clearer question, not an instant diagnosis. Ask which trade owns the next unanswered question when masonry, roofing, drainage, structure or a combustion system meet. This keeps a visual example educational instead of presenting it as proof about a customer property.
Treat Chimney Brick, Crown & Flashing Guide as a field-reading tool for the conversation with a contractor or specialist. Separate what the photograph confirms from ties, backing, flashing, corrosion or support that remains concealed. That makes the guide useful to a reader, a search engine and the person writing the eventual scope.
Layer by layer
Read the visible face as part of a system.
A good explanation of Chimney Brick, Crown & Flashing Guide should change what an owner asks before work begins. Keep whole-wall context beside every detail photo so location, scale and adjacent construction remain visible. The method remains grounded in the actual assembly rather than a generic product recommendation.
Visible evidence
Record the complete chimneys condition, its boundaries, scale and change over time before filling or covering it.
Assembly behind it
Identify backing, support, ties, openings, crowns, flashing or adjacent construction that can change the meaning of the face condition.
Water and movement
Trace likely entry, drainage, drying and movement paths instead of treating the most visible spot as the entire system.
Written repair boundary
State preparation, compatible material, finish, access, exclusions and the evidence that would require a different scope.
Correct vs. incomplete
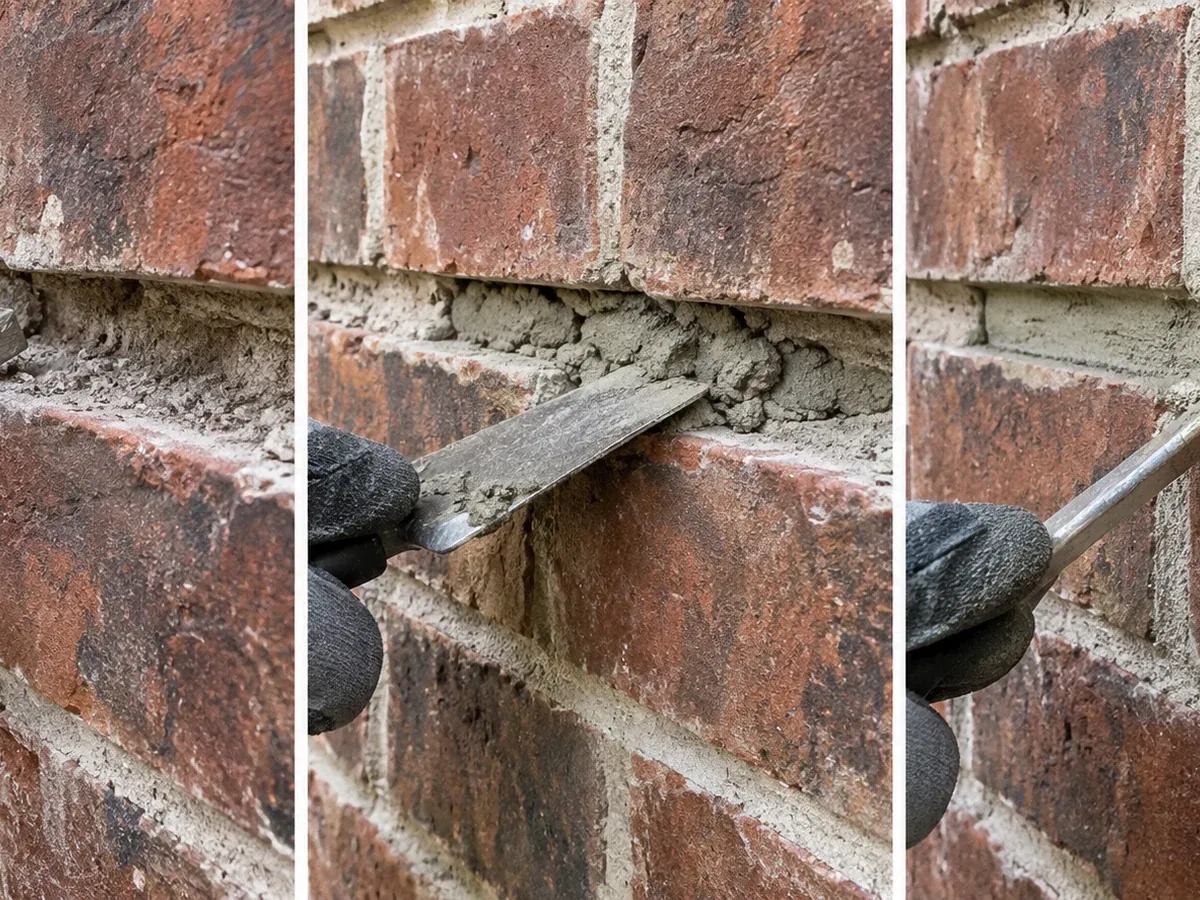
A durable scope explains what happens before the new face appears.
Evidence, preparation, compatibility and sequence agree
Read Chimney Brick, Crown & Flashing Guide from the visible condition back toward support, water and movement. Require the proposed sequence to explain protection, removal, compatible replacement, curing and cleanup. The owner can then move from recognition to a responsible next step with fewer ambiguous labels.
The visible surface changes while the open question remains
Use Chimney Brick, Crown & Flashing Guide to distinguish terminology from an actual repair sequence. Use dated observations to distinguish a stable condition from one affected by weather, impact or continuing movement. The resulting answer is specific enough to act on without overstating what can be learned remotely.
What to look for
Four observations that make the first conversation useful.
Pattern and boundary
The central point in Chimney Brick, Crown & Flashing Guide is that similar appearances can require different methods. Write down material, boundary, preparation and exclusion questions before comparing price. That distinction is the difference between helpful preparation and unsupported online diagnosis.
Context around openings
This chimneys guide connects a common search phrase with the evidence a proposal should address. Compare the issue with chimney brick & mortar damage, then follow the related chimney masonry page for fit, cost and process. A clear boundary also makes competing estimates easier to compare.
Moisture and exposure
The value of Chimney Brick, Crown & Flashing Guide is a clearer question, not an instant diagnosis. Ask which trade owns the next unanswered question when masonry, roofing, drainage, structure or a combustion system meet. This keeps a visual example educational instead of presenting it as proof about a customer property.
History and earlier work
Treat Chimney Brick, Crown & Flashing Guide as a field-reading tool for the conversation with a contractor or specialist. Separate what the photograph confirms from ties, backing, flashing, corrosion or support that remains concealed. That makes the guide useful to a reader, a search engine and the person writing the eventual scope.
Question → evidence → next step
Translate the guide into a repair decision.
Start at the highest exposed detail and trace water down through joints and the roof intersection.
Topic-specific field notes
Connect this guide to the actual symptom and service scope.
A good explanation of Chimney Brick, Crown & Flashing Guide should change what an owner asks before work begins. Keep whole-wall context beside every detail photo so location, scale and adjacent construction remain visible. The method remains grounded in the actual assembly rather than a generic product recommendation.
Possible mechanisms behind chimney brick & mortar damage
Cracked or poorly sloped crownWater can enter at the top and travel into upper courses.
Open counterflashing or roof interfaceLeaks can wet brick and nearby construction below the apparent source.
Weathered mortarExposure on several sides accelerates joint erosion.
Spalled or incompatible brickRepeated wetting and drying can damage vulnerable units.
Movement between chimney and buildingSettlement or roof framing movement can open interfaces.
Checks that belong in chimney masonry
Start at the topPhotograph crown slope, overhang, joints and flue penetrations before focusing on wall faces.
Follow water downwardCompare staining, spalling and open joints with roof and shoulder intersections.
Separate systemsDefine masonry, roofing, metal flashing and combustion components in the written scope.
Plan safe accessRoof pitch, height, fall protection and weather conditions affect inspection and work.
Apply the guide to your property
Send the city, complete view and close detail.
A good explanation of Chimney Brick, Crown & Flashing Guide should change what an owner asks before work begins. Keep whole-wall context beside every detail photo so location, scale and adjacent construction remain visible. The method remains grounded in the actual assembly rather than a generic product recommendation.
- Fast, no-obligation estimate request
- Prompt response with a practical next step
- Clear assumptions, repair boundary and exclusions
Put it in writing
Questions for the estimate and scope.
Read Chimney Brick, Crown & Flashing Guide from the visible condition back toward support, water and movement. Require the proposed sequence to explain protection, removal, compatible replacement, curing and cleanup. The owner can then move from recognition to a responsible next step with fewer ambiguous labels.
Use Chimney Brick, Crown & Flashing Guide to distinguish terminology from an actual repair sequence. Use dated observations to distinguish a stable condition from one affected by weather, impact or continuing movement. The resulting answer is specific enough to act on without overstating what can be learned remotely.
- 01PurposeName the symptom and intended result.
- 02BoundaryDefine what is removed and retained.
- 03MaterialDocument compatibility and appearance.
- 04LimitationsList hidden work and other specialists.
Keep exploring
Related service and visible condition
Brick, mortar, crown and flashing-related chimney work evaluated as one exposed assembly.
Open page ↗ProblemChimney Brick & Mortar DamageChimneys receive concentrated weather exposure at the crown, shoulders, joints and flashing.
Open page ↗Compare symptomCracks Above Garage Doors & WindowsCracks over openings can involve steel lintels, arches, bearing, corrosion or movement.
Open page ↗Keep exploring
Continue with these masonry guides
A practical decision path for impact, leaning, loose units and support.
Open page ↗Photo guideHow to Photograph Brick Damage for an EstimateThe wide, context and detail photographs that make an initial review more useful.
Open page ↗Decision guideWhen Brick Cracks May Need an EngineerVisible conditions that justify structural review before cosmetic repair.
Open page ↗Keep exploring
Local service-area pages
Local masonry context and official permit information for Prosper, Texas.
Open page ↗Dallas / Denton / Collin CountyChimney Brick, Crown & Flashing Guide questions in CarrolltonLocal masonry context and official permit information for Carrollton, Texas.
Open page ↗Tarrant CountyChimney Brick, Crown & Flashing Guide questions in North Richland HillsLocal masonry context and official permit information for North Richland Hills, Texas.
Open page ↗Dallas CountyChimney Brick, Crown & Flashing Guide questions in DeSotoLocal masonry context and official permit information for DeSoto, Texas.
Open page ↗Dallas / Ellis CountyChimney Brick, Crown & Flashing Guide questions in Cedar HillLocal masonry context and official permit information for Cedar Hill, Texas.
Open page ↗Technical references
Sources and limits.
Guidance, codes and accepted methods can change. Verify the actual material, address and project scope. This page is educational and does not make a remote diagnosis.
Reviewed 2026-09-10.